Part 1
Since you will create your own website using HTML and CSS in this course, you will need to acquire your own hosting service. This part of the lesson task is mandatory.
You are free to choose any hosting service, but we recommend one.com. The monthly fee is low, and the beginner plan is sufficient.
Consider your domain name very carefully. This cannot be altered. You will be able to use this domain for future website projects. (You can, of course, sign up for other domain names and delete the one you have, but ‘getting it right the first time’ saves you a great deal of trouble.)
For this task, we need to obtain a domain that we will use for future projects. Since I already have a domain in one.com, I will use this one instead of buying a new one.
The domain I own is deilie.eu

Part 2
The Norwegian Seafood Council wants to promote the health benefits of Norwegian salmon to the local and international markets. You need to create an informative website for this purpose. (This is a fictitious client and project). Create very basic wireframes for the website, showing at least three pages. These can be low-tech wireframes that show planning for the page structure and navigation.
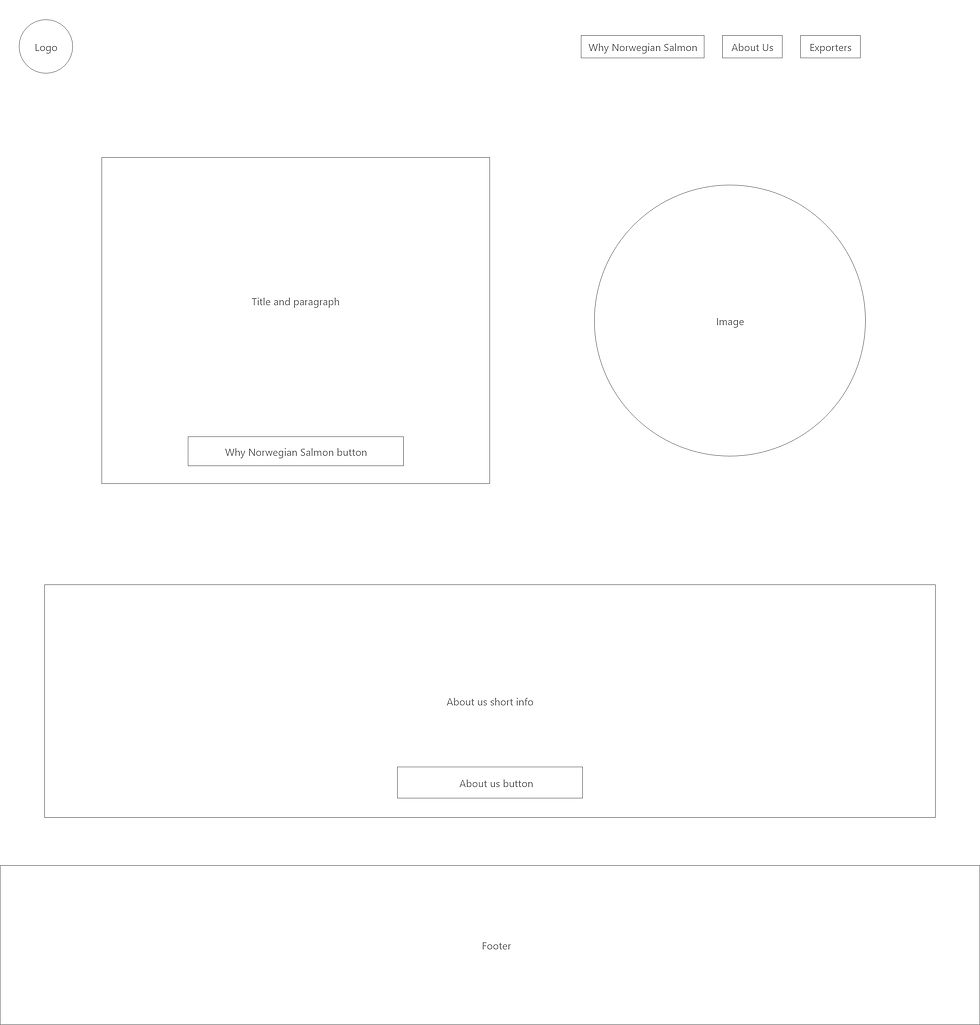
I decided to create a simple low-tech wireframe in AdobeXD and just mark up the structure and rough design of the site. I decided that the website will have a total of 4 pages - "Home", "Why Norwegian Salmon", "About Us" and "Exporters".
Home page

Why Norwegian Salmon page

About Us page

Exporters page

Part 3
Create the structure for the HTML files and folders of the web page. Think about the root folder and name the folders correctly. Firstly, sketch out what the structure will look like. Then, set these up so you are ready to code your website. Open Adobe Dreamweaver. Click on the ‘Create New’ button, and under ‘Document type’, choose HTML. Keep the ‘Framework’ as none since we will not use a Bootstrap framework. You can give the file a name, call it ‘home’ and the ‘Doc Type’ should be HTML5. This will open a blank document in Dreamweaver. You will see a tab called ‘Untitled-1’ in the top left bar. This is because the file is not yet saved. Hit ‘save’ and save the file as Index.html in the correct folder of the folder structure you created. One HTML document called ‘index.html’ is enough for this LT. Remember, this structure should be set up so that it can be uploaded to a hosting server without disrupting the file paths. When you are done, take a screenshot of the folder and, together with the sketch of your structure, upload it to your WordPress blog.
I sketched and created the structure of the website. I also included all html files for the different pages, just to have them set up and ready for use. I named the root folder NSC_project short for Norwegian Seafood Council.
Sketch

Folder structure


Comments