2.4. LT - Pseudo-classes
- Desislava Ilieva
- Sep 21, 2023
- 2 min read
Part 1
For this lesson task, you need to focus on applying pseudo-classes to the navigation list. Apply a ‘hover’ and ‘active’ state to all the menu items. The styling can be as simple as a background colour, font style or text-decoration. The hover style must show when you hover over the link with your mouse, and the active state must show on the link when you are on that particular page. For example, the ‘contact’ link in the navigation list must look different to the rest of the links when you are on the contact page.
Take screenshots of your CSS code and also of the browser or result window, showing what the link looks like when you hover over it with your mouse. You also need to show what each link looks like in the active state.
CSS:

Here is the navigation menu in 1. Active 2. Hover and 3. Regular states on the index.html page

About Us page

Contact page

Part 2
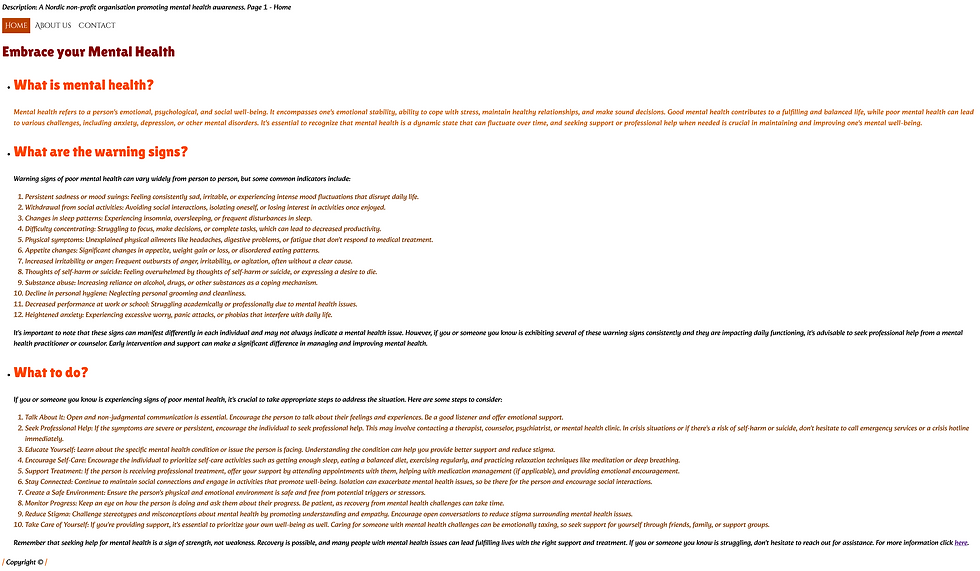
It’s time to put the links to the test from outside your local folder. Upload the root folder containing all your web page files to your host using an FTP client. Once uploaded, check if the fonts load correctly on all pages, check the images and pseudo-classes and check if your page links work properly. Take screenshots to show your web page loads correctly in the Google Chrome browser. Upload the screenshots with a short description of the process to your blog. If you had to fix any links, remember to also write about your problem-solving.
- After adding all the saved files to my domain in one.com and loading up the site I can see that all of my fonts, links and properties are loading up correctly.
Home page (index.html) in the browser

About Us page

Contact page

Conclusion:
The process of creating these pages has been quite clear and well-organized thanks to the good explanations in the lessons I've been given. So far I have not encountered any problems with my code, but I do need more practice with discovering all of the options and opportunities it gives us.


Comments